When we will receive an SINPAR Automatic Reference Fuel Blender, firstly the following working conditions in laboratory need to be met, to ensure proper operation of the instrument:
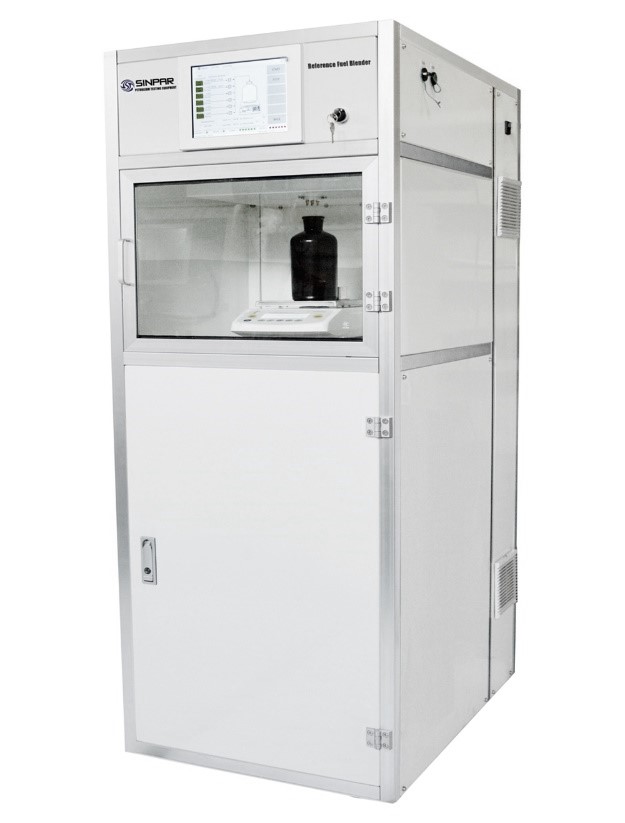
The reference fuel blender should be placed on the flat floor. (Note: Do not move the cabinet during operation.)
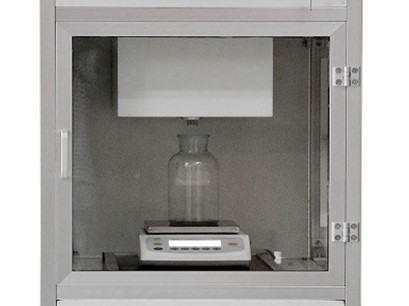
Installation steps of electronic balance:
The reference fuel blender is operated from a single-phase supply in the range of 100~240VAC 50/60 Hz. The equipment is equipped with a standard plug according to user’s local standard for easy connection to the power supply.
Plug the reference fuel blending unit’s power plug into an outlet and switch on the blending unit.
The computer and balance will automatically start when the blending unit is switched on.
The reference fuel blending unit now is ready to perform the first live checks and blending.
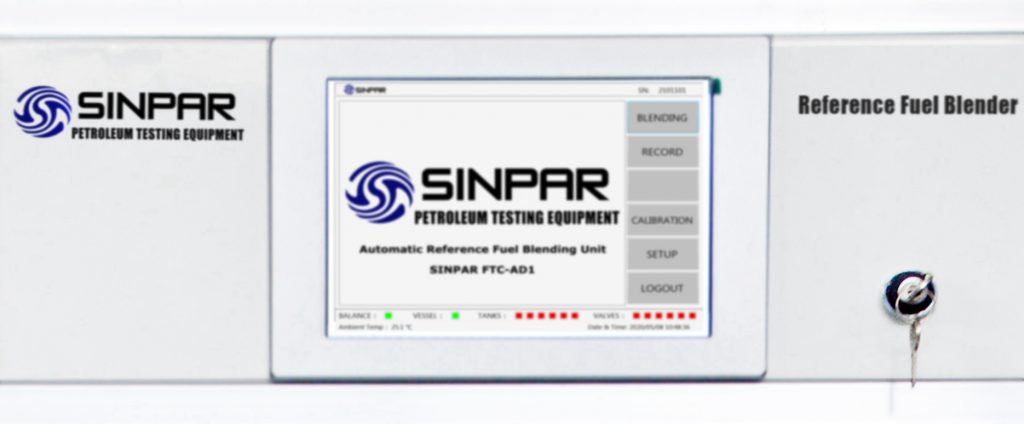
Note: Before blending, please check the status indication of Balance, Vessel, Tanks and Valves at the bottom of control panel.
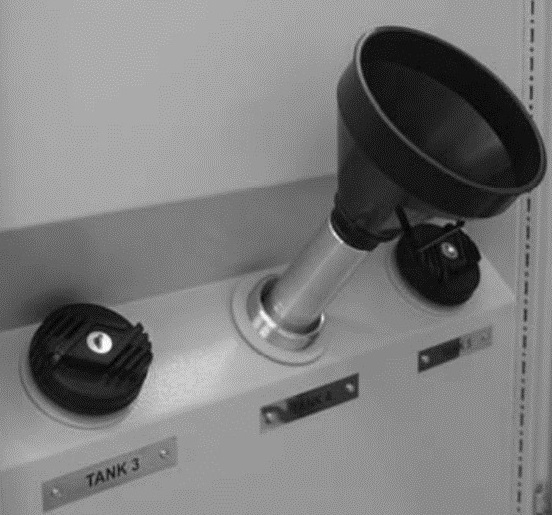
When newly received, the six primary reference fuel tanks are empty and must be filled with iso-octane (ISO), n-heptane (HEP), toluene (TOL), 80/20 blend (80/20), n-cetane (NC), and heptamethylnonane (HMN) or alpha-methyl-naphthalene (AMN), following the corresponding label.
The grade of the primary reference fuels is given in ASTM D2699, ASTM D2700, and ASTM D613.
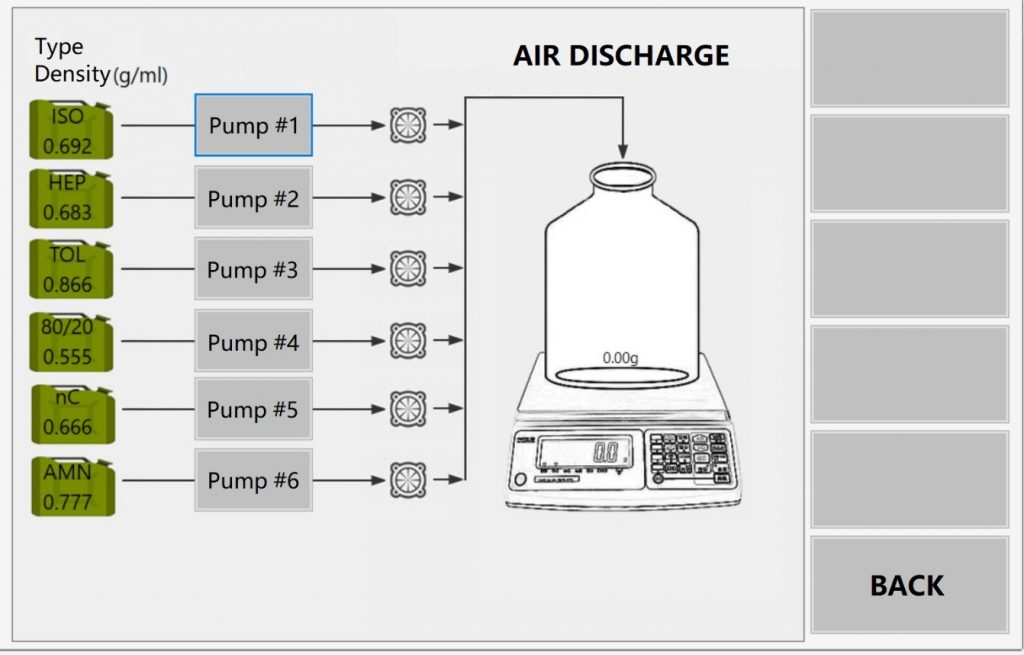
To fill the tubing and pumps and purge the preservation fluid, the Air Discharge for all the reference fuels should be performed.
Click the “SETUP” button and select the “AIR DISCHARGE” from the SETUP menu.
After the tanks are filled and the air discharge performed, the tubing should be visually checked for leakage due to possible damage during shipping.
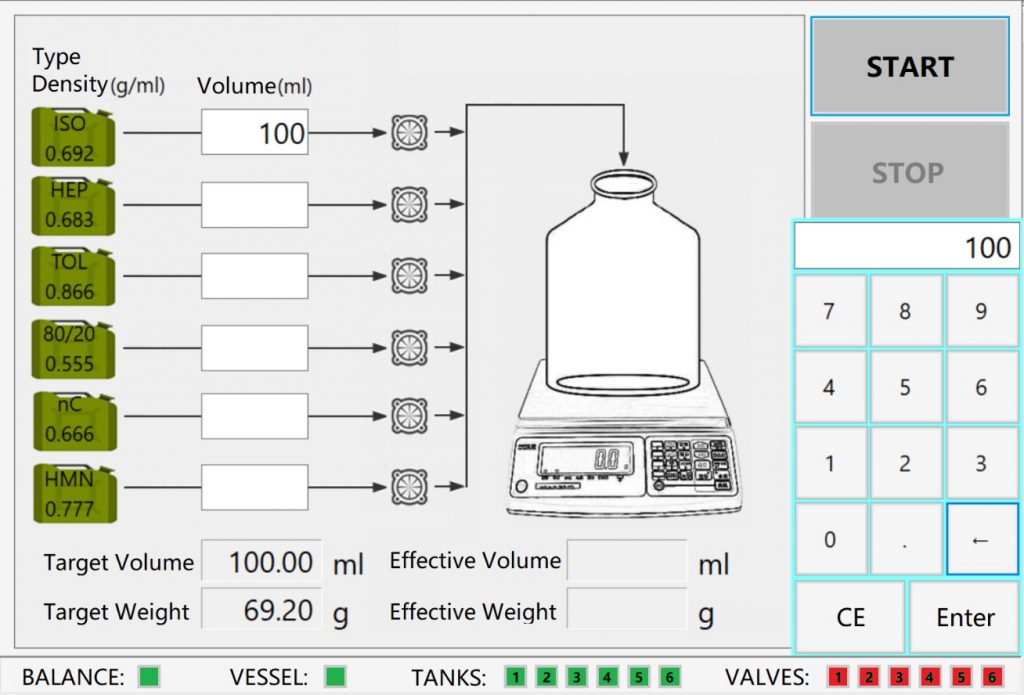
Press the “CALIBRATION” button in the MAIN MENU to calibrate the dosing pump.
Select one type of reference fuels and enter the target volume (100-1000ml), the target parameters of this fuel appear automatically below.
Press “START” button, and wait until the target blending is complete.
Compare whether the difference between the effective value of weight and the target value is within 0.05g.
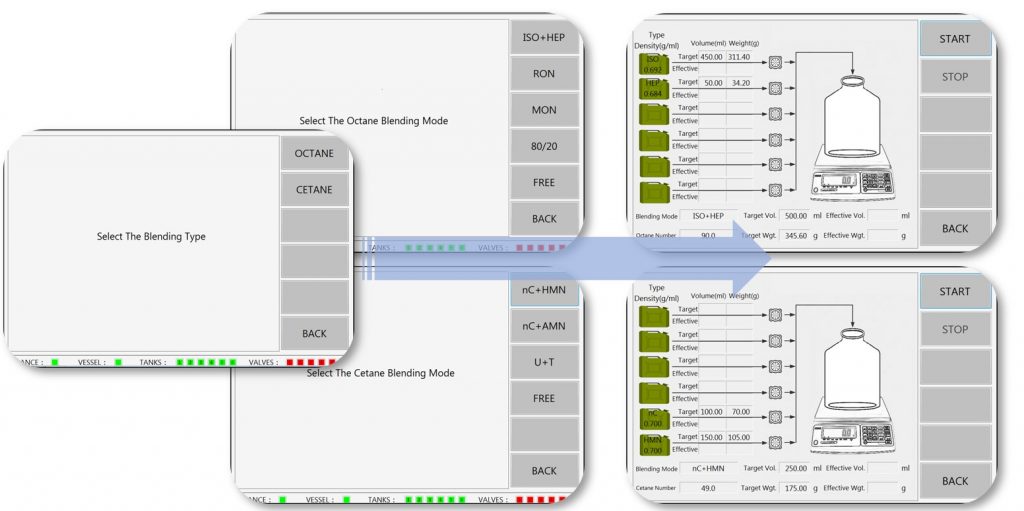
Once the above preparations are complete, it’s time to start octane/cetane blending operation, by press “BLENDING” on the main screen to enter the Select BLENDING mode.
Note: Please pay attention to the state indications of BALANCE, VESSEL and TANKS at the bottom of the interface before the blending operation begins.
The operator just needs to select the blending mode, enter the target octane/cetane number and volume of blend, and press “START” to begin the blending.
The automatic computational control system controls the whole blending process. An accurate blend is delivered to the vessel automatically.
In addition to standard blending modes, the Free Blending mode is offered for special blends.
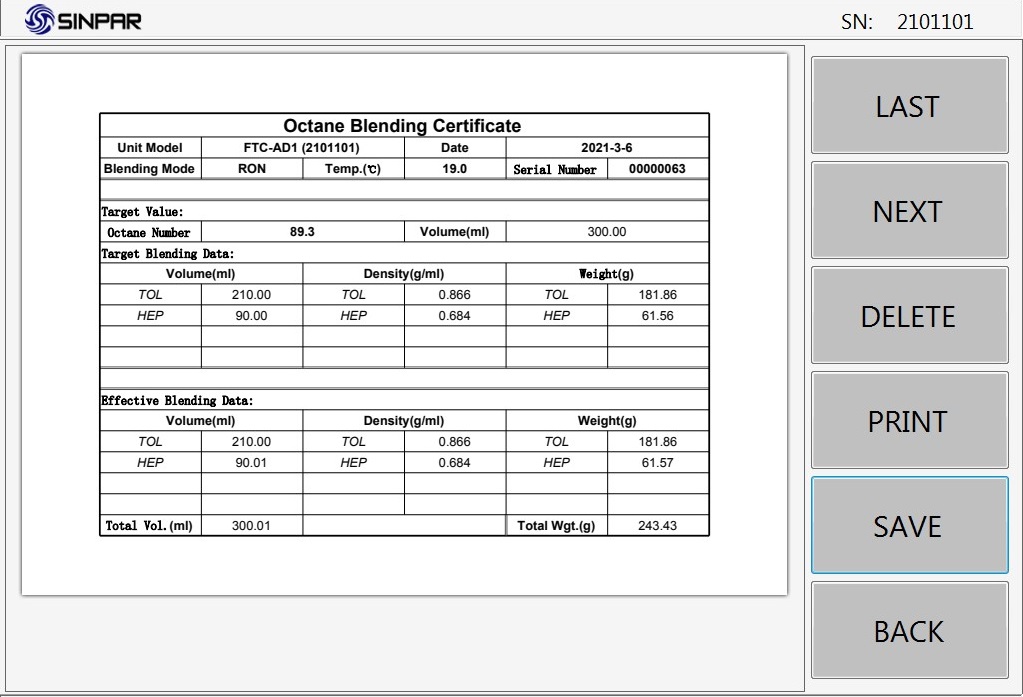
The blending data is automatically saved in the computer. To view the data and print the blend certificate, please back to the main menu and press the “RECORD” button.
The blending certificate can be printed or saved to computer or mobile storage device, containing all necessary data:
• Serial number of the blend given by the computer
• Unit model
• Date, time
• Ambient Temperature
• Target octane/cetane number, blending volume, density and weight
• Effective blending volume, density and weight
• Consumption of blending components
